
To create stunning mix-and-match manicures, explore bold pattern pairings like polka dots with stripes, or florals combined with abstract designs. Use complementary or monochromatic color schemes to maintain everything cohesive, and experiment with textures such as matte, gloss, or metallic finishes to add depth. Plan your layout beforehand to guarantee a balanced look, and don’t be afraid to mix contrasting patterns for a fun, eye-catching style. Keep exploring for even more tips to perfect your design.
Key Takeaways
- Plan pattern placement on each nail to balance various designs and create a cohesive look.
- Use contrasting textures like matte and gloss or glitter and metallic for added visual interest.
- Mix complementary or monochromatic color schemes to unify diverse patterns seamlessly.
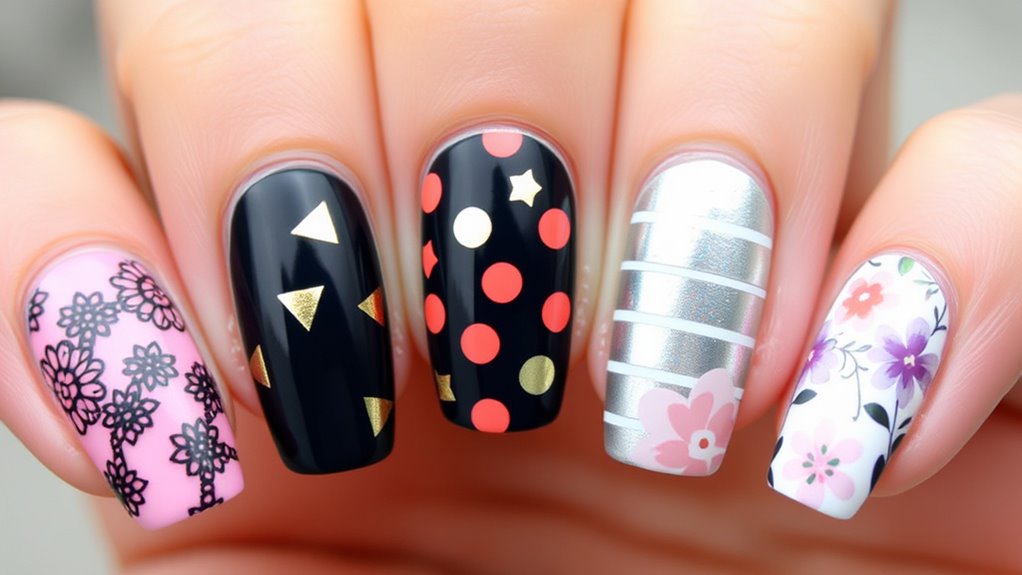
- Incorporate geometric shapes, florals, and abstract designs for a dynamic, personalized manicure.
- Utilize tools like striping tape and stencils for clean lines and precise pattern combinations.
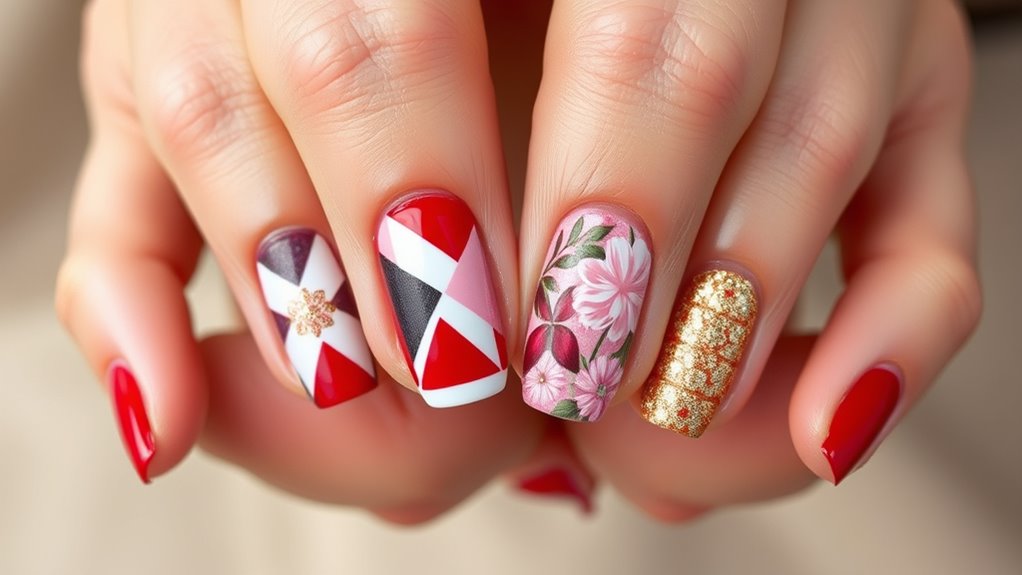
Mix-and-match manicures have become a popular way to express your personal style and add variety to your nail look. This trend allows you to combine different patterns, colors, and textures on each nail, creating a unique and eye-catching design. If you’re new to this style, start by exploring nail art inspiration from social media platforms like Instagram or Pinterest. These sources are goldmines for creative ideas, showing you how others blend patterns like polka dots, stripes, florals, and abstract designs. When browsing, look for color schemes that resonate with you, as this will help in crafting a cohesive yet diverse look.
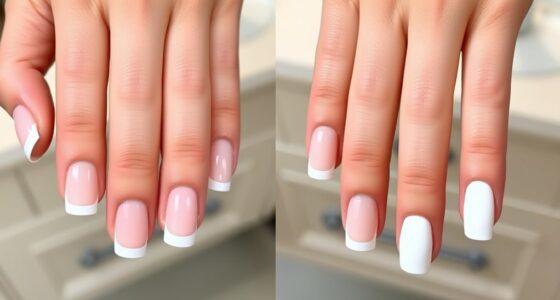
Once you’ve gathered inspiration, the key to a successful mix-and-match manicure lies in color coordination tips. You don’t have to match every nail perfectly; instead, aim for a balanced palette that ties all the patterns together. For example, if you’re working with a bold floral pattern on one nail, choose complementary colors for the other nails, such as soft pastels or neutral shades. This creates harmony across the design without making it appear chaotic. If you’re unsure about which colors work well together, stick to a monochromatic theme with varying shades of the same hue, or use a classic color combination like navy and gold for a sophisticated touch.
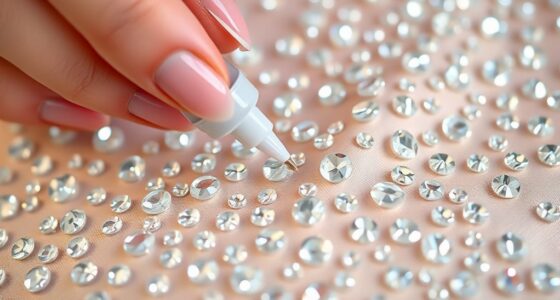
When applying different patterns, consider alternating textures or finishes—matte paired with gloss, glitter with matte, or metallic accents against matte backgrounds. This contrast adds depth and visual interest to your manicure. Don’t forget to plan your layout before starting; lay out your nails and decide which pattern goes where. This prevents accidental mismatches and helps you visualize the final look. Use striping tape or nail stencils to create clean lines for stripes or geometric shapes, and freehand floral or abstract designs for a more organic feel. Incorporating pattern mixing techniques can elevate your manicure from simple to stunning by adding intentional contrast and harmony.
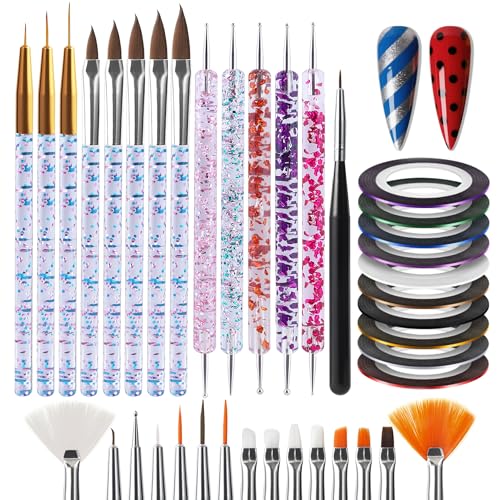
Artdone 38Pcs Nail Striping Tape Lines Kit With Nail Art Pens Dotting Tools And Liner Brushes For Gel Polish Small Detail Drawing Design Paint
You will Received: 10 PCS different colors nail art striping tape lines, 28 PCS tools for nail dotting、liner、painting、drawing…
As an affiliate, we earn on qualifying purchases.
As an affiliate, we earn on qualifying purchases.
Frequently Asked Questions
How Do I Prevent Patterns From Clashing?
To prevent patterns from clashing, focus on color coordination and pattern balancing. Stick to a cohesive color palette so your designs look harmonious. Balance bold patterns with simpler ones to avoid overwhelming your nails. Consider using complementary or analogous colors, and limit the number of patterns you combine. This approach keeps your manicure visually appealing and stylish without feeling chaotic or mismatched.
What Tools Are Best for Mixing Patterns?
Ever wonder what tools help you seamlessly mix patterns? Nail tape is essential for creating clean, crisp lines, making it easier to combine different designs without clashing. Dotting tools allow you to add detailed accents or polka dots that tie various patterns together. Both are versatile and user-friendly, giving you control over your creative design. With these tools, you can confidently experiment and craft stunning, coordinated nail art.
How Long Does a Mix-And-Match Manicure Last?
A mix-and-match manicure typically lasts about a week to ten days, depending on your nail durability and how well you care for your nails. To maximize pattern longevity, avoid harsh chemicals and excessive water exposure. Using a top coat can also help protect your designs. Keep in mind that the durability varies based on your nail type and lifestyle, so touch-ups might be needed to keep your patterns looking fresh longer.
Can I Do This at Home Myself?
Thinking of diving into a mix-and-match manicure at home? It’s like painting your own tiny masterpiece! With some DIY tips and pattern inspiration, you can easily create stunning, personalized designs. Use painter’s tape for clean lines, pick complementary colors, and experiment with patterns like stripes or polka dots. Patience is key, but with steady hands, you’ll master this skill and enjoy a salon-quality look right in your own space.
Which Patterns Work Best Together for Beginners?
For beginners, choosing patterns with good color coordination makes mixing easier. Start with simple designs like stripes and polka dots in complementary shades. Contrast is key, so pair bold patterns with subtle ones to create balance. Stick to two or three patterns to avoid overwhelming your nails. By focusing on color coordination and pattern contrast, you’ll find it easier to create stylish, eye-catching manicures at home.

Reusable Nail Stencils for Nail Art – 144 Pieces with 72 Unique Designs, DIY French Tip Guides & Manicure Decals for Professional Salon-Quality Results at Home
72 VARIETY DESIGNS: Includes 144 reusable nail stencils (24 sheets) featuring 72 assorted patterns like hearts, florals, geometric…
As an affiliate, we earn on qualifying purchases.
As an affiliate, we earn on qualifying purchases.
Conclusion
Now that you know how to mix and match patterns, why stick to just one look? With a little creativity, your nails can become a true expression of your personality and style. Don’t be afraid to experiment and break the rules—after all, your manicure should reflect your unique vibe. So go ahead, try something new, and turn your nails into a stunning canvas. Ready to show off your one-of-a-kind design?

wet n wild Wild Shine Nail Polish, Matte Top Coat
Our claim to fame We launched wet n wild in 1979 with this epic nail polish and it…
As an affiliate, we earn on qualifying purchases.
As an affiliate, we earn on qualifying purchases.

Artdone Nail Dotting Tools 32PCS Double-ended Nail Art Brushes Kit Nail Art Gel Polish Liner Brushes Design Pen For Nail Drawing And Nail Paint Brushes Small Detail Brushes
Package contains:Include 14pcs black nail art brushes set,5pcs nail dotting tool,3pcs Nail Art Liner pen,1pcs pen holder,1pcs color…
As an affiliate, we earn on qualifying purchases.
As an affiliate, we earn on qualifying purchases.