To create mystical aura-inspired nail art, start by preparing your nails with clean, buffed surfaces and nourishing cuticle care. Choose a vibrant color palette with deep purples, blues, and metallics, then apply a smooth gradient or ombre base for a mesmerizing effect. Incorporate intricate symbols like chakras or mandalas using fine brushes, and finish with a glossy top coat. To keep your design radiant, follow tips for maintenance and touch-ups — explore more to access your full aura nail potential.
Key Takeaways
- Use vibrant, mystical color palettes like purples, blues, and golds to evoke aura energies.
- Prepare nails with proper cleaning, buffing, and cuticle care for a smooth canvas.
- Create gradient or ombre bases with harmonious hues to enhance depth and glow.
- Incorporate detailed symbols, chakra patterns, and mandalas using fine brushes and nail art tools.
- Seal designs with a high-quality top coat and maintain nails with regular hydration and touch-ups.
Top picks for "aura nail create"
Open Amazon search results for this keyword.
As an affiliate, we earn on qualifying purchases.
Understanding the Origins and Inspiration Behind Aura Nails

Have you ever wondered what sparks the creation of Aura Nails? It all begins with a deep appreciation for historical symbolism and cultural influences. These elements serve as the foundation for the mystical and vibrant designs that define Aura Nails. Throughout history, various cultures have used colors, patterns, and symbols to express spiritual beliefs, energies, and personal identity. For example, certain hues are linked to healing and protection, while others symbolize purity or strength. These cultural symbols inspire the layered, shimmering effects in Aura Nails, creating a visual connection to ancient traditions and spiritual practices. Additionally, understanding the meaning of colors used in different cultures can enhance the depth and significance of your nail art. By understanding these origins, you can appreciate how Aura Nails blend history and culture, transforming simple nail art into a meaningful, expressive form.
Gathering the Essential Tools and Materials for Aura-Inspired Art

To create stunning Aura Nails inspired by mystical symbolism, you need to gather the right tools and materials that will bring your vision to life. Start with essential items like:
- Fine detail brushes for intricate designs reflecting chakra colors.
- High-quality gel or acrylic paints in vibrant hues representing different energy centers.
- Nail stickers or stencils inspired by crystal healing symbols to add mystical accents.
- A UV or LED lamp to set your artwork securely.
- Incorporate elements that complement the bedroom theme, such as earthy tones or subtle rustic accents, to enhance the overall mystical ambiance of your nail art.
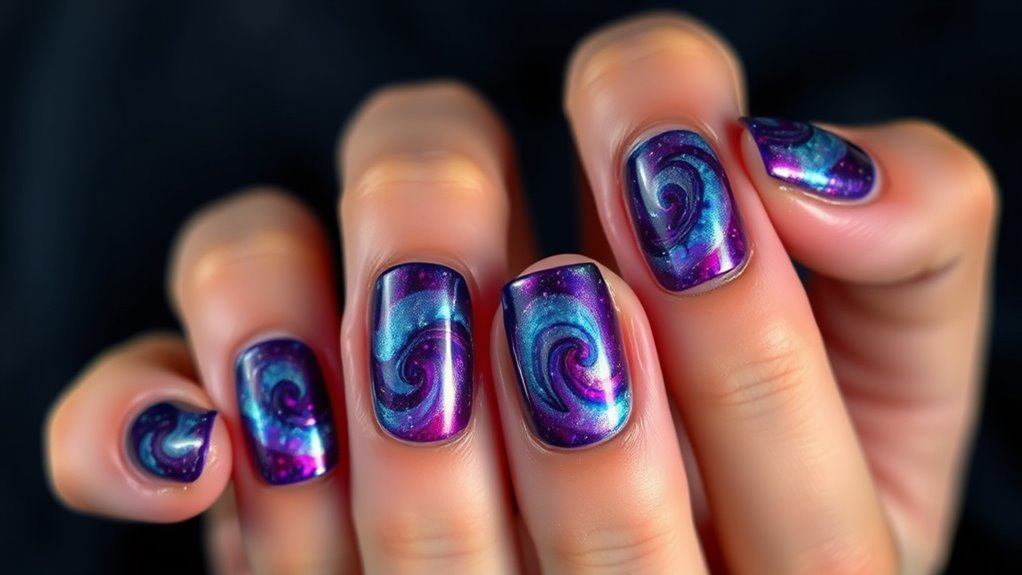
Choosing the Perfect Color Palette to Capture Mystical Vibrations

Selecting the right color palette is essential for capturing the mystical vibrations that inspire Aura Nails. Understanding color theory helps you choose hues that evoke a sense of magic and serenity, such as deep purples, iridescent blues, and shimmering golds. These colors work together to create a mesmerizing, otherworldly effect. Equally important, prioritize nail health by using non-toxic, nourishing polishes that support strong, healthy nails. Avoid harsh chemicals that can weaken your nails or cause damage, as compromised nails won’t showcase your mystical design effectively. A well-chosen palette grounded in color theory enhances the aura-inspired look, while caring for your nails ensures your art remains flawless and vibrant. Incorporating vertical storage solutions can also help you organize your nail tools and supplies efficiently, keeping everything accessible for your creative process. With the right colors and proper nail health, your mystical nail art will truly radiate vibrancy and energy.
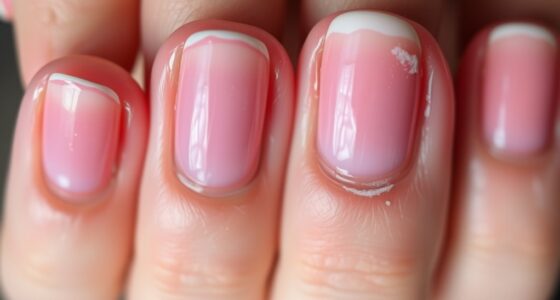
Preparing Your Nails for a Flawless Aura Design
Are your nails ready to showcase a mesmerizing aura design? Proper nail care and cuticle preparation are essential for a flawless look. Start by gently pushing back your cuticles using a cuticle pusher, then clean the nail surface to remove oils and debris. Next, lightly buff your nails to create a smooth canvas, avoiding over-buffing that can weaken nails. Finally, apply a nourishing cuticle oil to hydrate and strengthen the nail bed, ensuring healthy nails that hold the design beautifully.
To summarize:
- Push back and clean cuticles.
- Buff nails lightly for smoothness.
- Remove oils with a clean cloth.
- Hydrate with cuticle oil.
Following these steps guarantees your nails are prepped for stunning aura-inspired nail art.
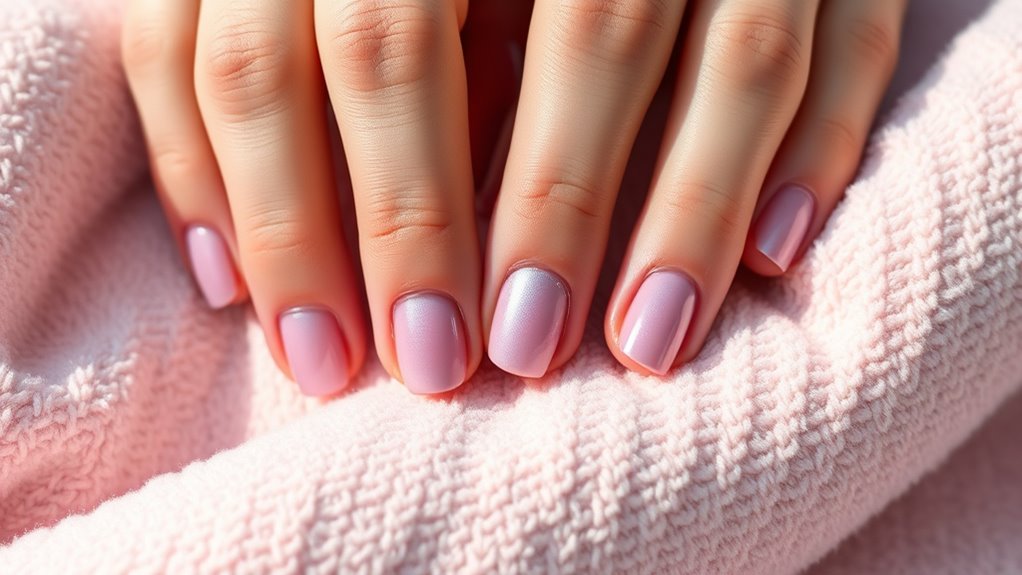
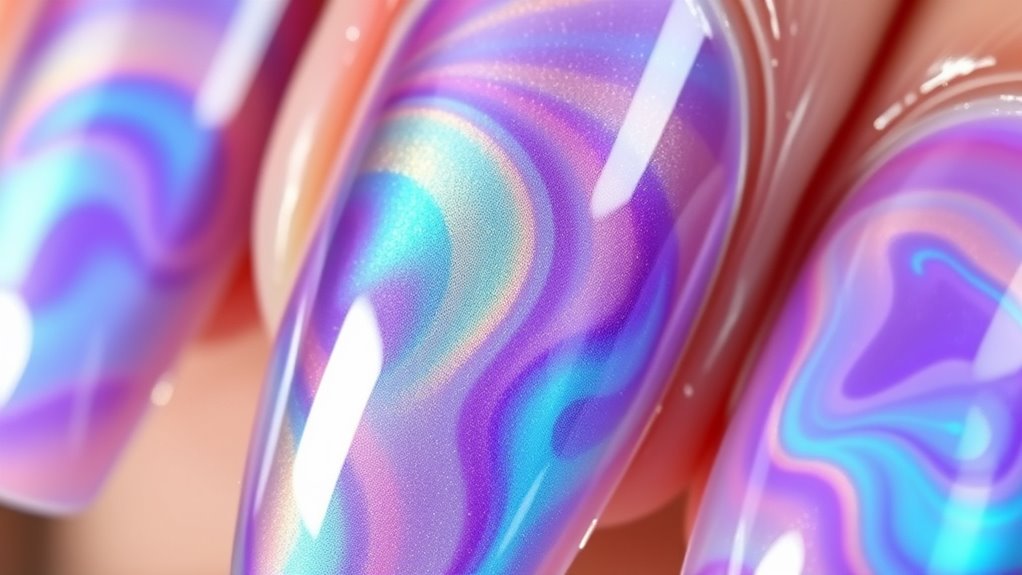
Creating a Base Layer With Gradient or Ombre Effects

Creating a smooth and seamless base layer with gradient or ombre effects sets the foundation for a stunning aura nail design. To achieve this, focus on skillful color blending using gradient techniques. Start by selecting two or three harmonious shades that evoke the mystical aura you want to create. Apply the lightest color near the cuticle and gradually blend into darker shades toward the tip. Use a makeup sponge or gradient brush to gently blend the colors, working in light tapping motions to create a smooth transition. Keep building up layers until the gradient appears seamless and even. This technique enhances the depth and glow of your design, setting a perfect stage for adding shimmering or metallic accents later. A well-executed gradient creates a captivating, mystical aura on your nails. Additionally, practicing color blending can significantly improve the overall appearance of your gradient, making the aura effect more mesmerizing.
Applying Metallic and Shimmering Accents to Enhance the Glow
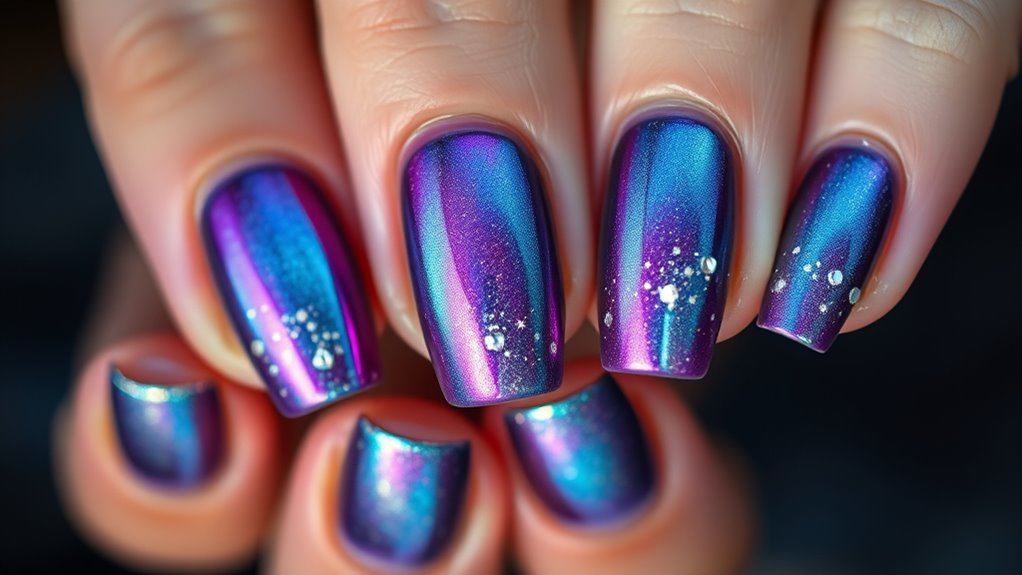
Choosing the right metallic colors can make your nails truly stand out, adding a sleek or bold touch. Applying shimmer carefully enhances the glow without overpowering your base, creating a radiant effect. Layering these accents thoughtfully adds depth and dimension, making your manicure look polished and dynamic. Incorporating color harmony into your design can further elevate the overall aesthetic and ensure your nail art is cohesive and eye-catching.
Metallic Color Choices
Have you ever wondered how metallic and shimmering accents can make your nail designs truly stand out? Choosing the right metallic color enhances your aura-inspired look. Start with these tips:
- Opt for a metallic finish that complements your skin tone—golds for warmth, silvers for cooler undertones.
- Use color blending to seamlessly transition between shades, creating a mystical glow.
- Select metallic shades with shimmer for extra depth and dimension.
- Consider layering different metallic hues for a dynamic, multi-dimensional effect.
Shimmer Application Techniques
To achieve a stunning shimmer effect, start by applying a base coat of your chosen metallic color. Once dry, lightly dab shimmering accents onto specific areas of your nails using a sponge or brush for a subtle glow. For more impact, apply a thin layer of shimmer polish over the metallic base, blending softly to enhance the aura-like radiance. Consider the crystal meanings and chakra colors associated with your desired energy—like amethyst for tranquility or citrine for vitality—when choosing shimmer shades. These shimmering accents amplify the mystical aura, making your nails resemble a radiant crystal cluster. Be careful to layer sparingly, building up the shimmer gradually for a balanced, luminous finish. Incorporating sustainable nail products can also help you enjoy beautiful nails while reducing environmental impact. This technique enhances the mystical glow, aligning with your spiritual and aesthetic intentions.
Layering for Depth
Layering metallic and shimmering accents creates a dynamic depth that makes your nails truly stand out. To achieve this, focus on seamless color blending and complementing your nail shape.
- Start with a base color that matches your desired aura effect, then layer metallics or shimmer over it for added dimension.
- Adjust the placement of metallic accents based on your nail shape, emphasizing curves or points.
- Use a soft brush to blend shimmering hues into the base, creating a smooth progression and mystical glow.
- Vary the intensity of shimmer and metallics across different nails or sections to enhance the layered effect.
- Incorporating the right paint sprayer techniques can help you achieve a flawless and professional finish for your nail art.
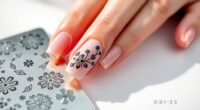
Incorporating Intricate Patterns and Symbolic Designs
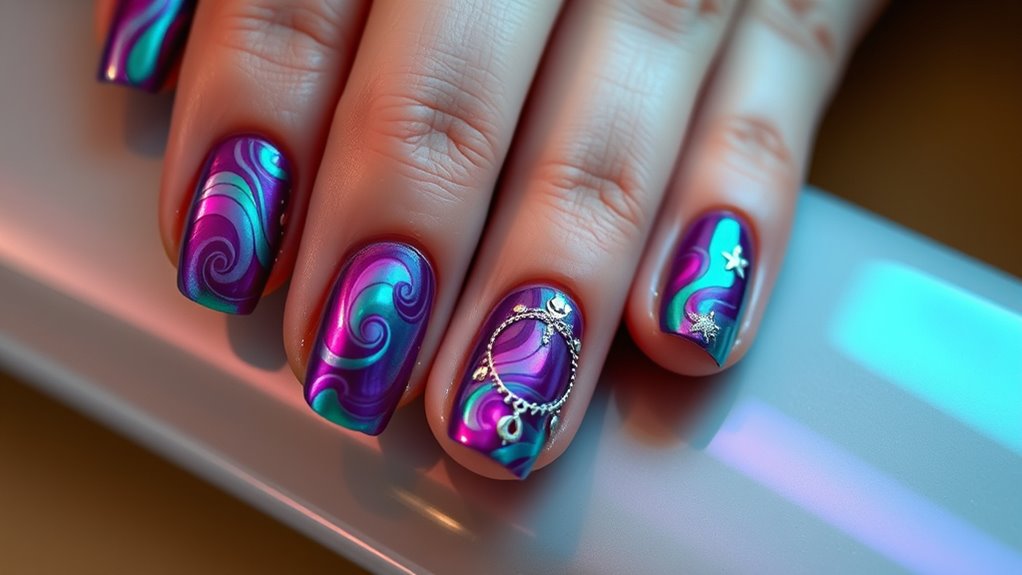
Incorporating intricate patterns and symbolic designs can add meaningful detail to your nail art. Understanding the meanings behind different symbols helps you create personalized and purposeful looks. Paying attention to fine details guarantees your designs stand out with precision and elegance. Incorporating aesthetic wall organization ideas can inspire creative ways to display your nail art tools and accessories for a stylish workspace.
Symbolic Pattern Meanings
Symbolic patterns and intricate designs on nails carry meaningful messages and reflect personal beliefs or cultural traditions. When you incorporate elements like chakra symbolism, you’re expressing spiritual energy centers, promoting balance and healing. Sacred geometric patterns, on the other hand, symbolize harmony and the universe’s interconnectedness. Here are some common meanings behind these patterns:
- Chakra symbols – represent energy centers, promoting wellness and spiritual growth.
- Sacred geometric patterns – embody universal harmony and divine proportion.
- Mandala designs – symbolize wholeness and spiritual journey.
- Lotus motifs – stand for purity, enlightenment, and rebirth.
Using these patterns in your nail art can deepen your connection to your spiritual journey and cultural roots.
Designing With Fine Details
When designing with fine details, precision is key to bringing intricate patterns and symbolic designs to life on your nails. Focus on carefully crafting flower motifs that symbolize growth and renewal, ensuring each petal is detailed and balanced. Incorporate abstract patterns to add a mystical, dreamy quality, blending flowing lines and geometric shapes seamlessly. Use fine brushes or nail art tools to achieve crisp lines and delicate details, avoiding smudging or uneven strokes. Pay attention to symmetry, especially for symmetrical flower motifs, and layer your designs gradually for depth. These tiny elements can dramatically elevate your aura-inspired nail art, creating a mesmerizing look that combines elegance with symbolic meaning. With patience and steady hands, you’ll transform simple nails into miniature works of art. Additionally, understanding ice cream flavors and their unique characteristics can inspire playful and colorful accents that enhance your overall design.
Using Fine Detailing Tools for Precise Line Work and Highlights

Using fine detailing tools is essential for achieving crisp, clean lines and adding subtle highlights that make your nail art stand out. These tools allow you to create intricate designs like floral motifs and geometric patterns with precision. To maximize their effectiveness, consider these tips:
Fine detailing tools ensure sharp lines and subtle highlights for stunning, intricate nail art designs.
- Use a steady hand and slow movements to trace delicate lines.
- Choose a fine-tipped brush or nail art pen for detailed work.
- Layer highlights carefully to enhance depth without overloading.
- Clean your tools regularly to maintain sharpness and accuracy.
- Understanding contrast ratio helps in selecting colors that make your designs pop and stand out more vividly.
With these techniques, you can craft mystical aura-inspired designs that feature fine details, making your nail art both eye-catching and refined. Proper use of detailing tools elevates your work from simple to spectacular, capturing the enchanting essence of aura-inspired nail art.
Sealing Your Art With Top Coat for Lasting Shine and Durability
Applying a high-quality top coat is essential to protect your detailed nail art and keep it looking vibrant longer. It seals in your designs, adds a brilliant shine, and provides durability against daily wear. When choosing a top coat, opt for one that offers strong adhesion and a smooth finish to enhance your aura-inspired look. After applying, allow it to dry completely to prevent smudging or chipping. Regular nail care includes gentle polish removal when needed, but avoid excessive scrubbing that could damage your designs. Reapplying a clear top coat every few days helps maintain the shine and prolongs your art’s lifespan. Proper sealing with a top coat ensures your mystical aura nails stay stunning, vibrant, and protected over time.
Tips for Maintaining and Refreshing Your Aura Nails Over Time

Maintaining and rejuvenating your aura nails is key to keeping their mystical beauty alive over time. To preserve their gemstone symbolism and reflect aura color meanings, follow these tips:
- Regularly apply a clear top coat to enhance shine and protect the design from chipping.
- Use cuticle oil daily to nourish your nails and sustain the energetic essence associated with gemstone symbolism.
- Avoid harsh chemicals that can dull or damage the aura-inspired colors and designs.
- Schedule occasional touch-ups to refresh the aura color meanings, ensuring your nails continue to radiate their intended energy.
Frequently Asked Questions
Can Aura-Inspired Nail Art Suit All Skin Tones?
Aura-inspired nail art can suit all skin tones if you choose the right color palette. You should consider your skin tone compatibility when selecting colors, opting for shades that enhance your natural complexion. Bright, bold hues work well for darker skin tones, while softer shades complement lighter skin. By customizing your color palette, you guarantee your mystical aura-inspired nails look stunning and harmonious, no matter your skin tone.
How Long Does Aura Nail Art Typically Last?
Imagine your aura-inspired nail art lasting beautifully for about two to three weeks with proper care. To extend its nail longevity, you should follow durability tips like applying a top coat regularly and avoiding harsh chemicals. Be gentle with your nails, wear gloves when cleaning, and moisturize your cuticles. With these simple steps, your mystical nails will maintain their enchanting glow, keeping you confident and radiant longer.
Are There Specific Cleaning Tips for Aura Nails?
To keep your aura nails looking stunning, regularly follow proper sanitation practices and avoid chemical residue buildup. Gently clean your nails with a soft brush and mild soap, avoiding harsh chemicals that can damage the artwork. After washing, dry thoroughly and apply cuticle oil to maintain hydration. These steps will help preserve your mystical aura-inspired nail art and guarantee your nails stay healthy and vibrant longer.
Can Beginners Recreate Intricate Aura Patterns Easily?
Did you know that 60% of beginners find creating intricate nail art challenging? Luckily, you can easily recreate aura patterns by mastering gradient blending and color layering. Start with simple designs, use a sponge for smooth progressions, and build your skills gradually. With patience and practice, you’ll find that even complex-looking aura nails become achievable, making your nails look stunning without needing advanced techniques.
What Are Common Mistakes to Avoid in Aura Nail Art?
You should avoid uneven color blending and lack of design symmetry in aura nail art. Make sure to blend colors smoothly to create a mystical glow, and keep your design balanced for a harmonious look. Rushing the process can lead to messy results, so take your time. Practice your blending techniques and double-check your symmetry before sealing your design. This will help you achieve a stunning, professional-looking aura-inspired manicure.
Conclusion
Now that you’ve revealed the secrets to creating mystical aura-inspired nails, the true magic begins. Will your design radiate the vibrant energy you envisioned? With your new skills and tools, you’re ready to experiment and make each manicure uniquely yours. Just remember, the more you explore, the more enchanting your nails will become. So, are you prepared to turn your fingertips into mesmerizing works of art that captivate everyone around you? The aura awaits.