
To repair a split nail with the tea-bag method, start by cleaning and shaping your nail, then cut a small piece of tea bag material slightly larger than the crack. Apply a thin layer of nail glue or base coat, place the tea bag over the split, and gently press it in place. Seal everything with a clear top coat and let it dry thoroughly. For detailed steps to restore your nail’s strength, keep exploring this method.
Key Takeaways
- Clean, trim, and buff the nail before applying the tea bag piece for better adhesion.
- Cut a small, sturdy piece of tea bag material slightly larger than the split.
- Apply a thin layer of nail glue or base coat over the crack, then place the tea bag piece on top.
- Seal the repair with a clear top coat and allow it to fully cure for durability.
- Finish with moisturizing and gentle filing to maintain nail health and smoothness.
Top picks for "repair split nail"
Open Amazon search results for this keyword.
As an affiliate, we earn on qualifying purchases.
Gathering the Necessary Supplies

Before you begin repairing your split nail, it’s important to gather all the supplies you’ll need. Start with some nail polish to help seal the repair and add a finishing touch. You’ll also want a good hand moisturizer to keep your skin and cuticles hydrated, making the process smoother. A small pair of scissors or nail clippers may come in handy if you need to trim any jagged edges. Keep a clean nail file nearby to smooth rough areas before applying polish. Additionally, having a small brush or toothpick can help with precise application. Make sure your hands are clean and dry. Having everything ready will make the repair process easier and more effective. Remember that nail health is essential for preventing future splits and maintaining strong nails, so choose nourishing products to support overall nail strength.
Preparing Your Nail and Tea Bag
Start by cleaning and drying your nail to guarantee a strong bond. Choose a tea bag with a fine, lightweight material that can easily mold to your nail shape. Then, trim and shape your nail to create a smooth surface for the repair. Using a properly prepared surface ensures better adhesion and durability of the patch. Additionally, ensuring a clean and dry nail enhances the effectiveness of the repair process. For optimal results, consider lightly buffing the surface to improve adhesion strength. Incorporating a well-ventilated workspace can also help in the application and curing process.
Clean and Dry Nail
Begin by thoroughly cleaning your nail with gentle soap and water to remove dirt and oils. Good nail hygiene is vital to guarantee a clean surface for the repair. After washing, dry your nail completely with a soft towel or air dry to prevent moisture from interfering with adhesion. Make sure your hands are clean to minimize bacteria and dirt, which could cause infection. If you have allergies or sensitive skin, consider using fragrance-free soap and avoid harsh chemicals. Drying the nail thoroughly is essential because moisture can weaken the repair or cause it to lift prematurely. Taking these steps ensures your nail is properly prepared, providing a clean, dry base that helps the tea bag adhere securely and promotes effective healing. Additionally, ensuring your nails are free from hydrocolloid residue can improve the success of the repair process. Proper nail preparation can also reduce the risk of infection during healing. To further enhance the repair’s durability, consider nail health practices to strengthen your nails over time.
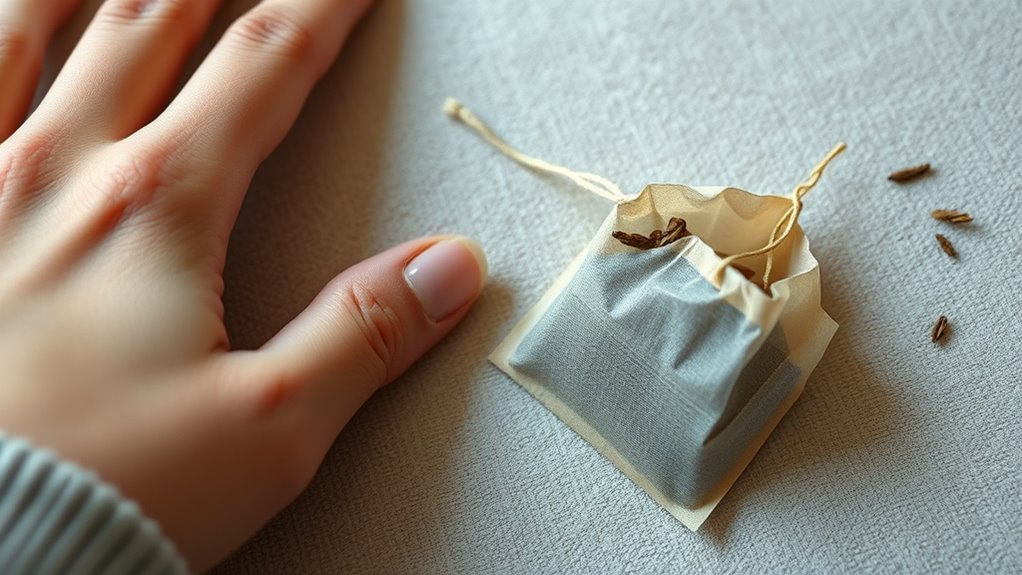
Select Suitable Tea Bag
Choosing the right tea bag is essential for a successful nail repair. Select a tea bag variety that’s gentle and free from additives or artificial flavors, as these can irritate your skin. Opt for high-quality tea bags with good tea quality, which ensures the bag is sturdy and won’t fall apart easily. Green or black tea bags are popular choices because they contain tannins that can help soothe your nail and promote healing. Make sure the tea bag is small enough to fit comfortably over the split nail without excess material. Avoid overly large or flimsy bags, as they won’t provide the necessary support. Picking the right tea bag sets a strong foundation for a durable and effective nail repair. Proper selection of materials enhances the overall effectiveness of the repair process. Additionally, choosing tea accessories that are well-made can help ensure your repair is both comfortable and effective. Ensuring that your supplies are suitable for skin contact minimizes the risk of irritation during the repair process. Incorporating natural materials like linen or cotton can further improve comfort and compatibility with your skin.
Trim and Shape Nail
Before applying the tea bag, carefully trim the nail around the split to remove any jagged edges and prevent further tearing. Use nail scissors or clippers to shape your nail into a smooth, even form. This helps the repair stay intact and looks more natural. Once trimmed, gently file the edges to avoid sharp corners that could cause additional damage. If you wear nail polish, consider removing it first to ensure a clean surface for the repair. Pay attention to cuticle care by softening your cuticles with oil or lotion, making it easier to work around them. Shaping your nail properly creates a strong foundation, allowing the tea bag method to adhere securely and promoting healthy nail growth. Incorporating proper nail maintenance routines can also help prevent future splits and keep your nails healthy. Additionally, maintaining moisturization can improve nail resilience and overall health. Proper hydration and nutrition are essential for strong nails, so consider incorporating nutritional support into your routine. For added strength, using nail hardeners can provide extra protection during the repair process.
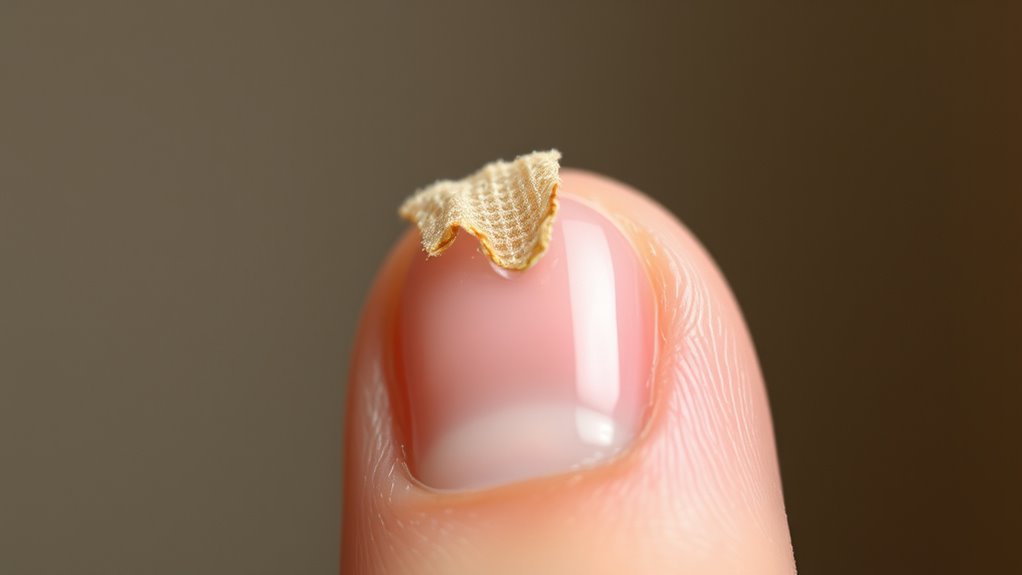
Cutting and Trimming the Tea Bag
Choosing the right tea bag is essential for a seamless repair, so pick one with a sturdy, thin material. When cutting, use a sharp scissors and make precise, clean cuts to match the size of your nail. This careful trimming guarantees the tea bag fits perfectly and adheres smoothly, especially when considering headphone repair techniques that require precision. Additionally, selecting a tea bag made from durable fabric ensures that it will hold up well during the repair process and provide a longer-lasting fix. For optimal results, consider the proper materials that are compatible with nail repair procedures to ensure a secure and effective mend.
Choosing the Right Tea Bag
To effectively repair a split nail, selecting the right tea bag is essential, and that starts with cutting and trimming it to the proper size. When choosing a tea bag, consider the tea quality, as higher-quality tea bags tend to be sturdier and easier to work with. The right tea bag should complement your nail aesthetics, blending seamlessly with natural or painted nails. Opt for a tea bag with a fine, uniform material to ensure it adheres smoothly and provides a polished finish. Avoid overly porous or thick bags that may complicate application or compromise durability. Keep in mind that the ideal tea bag contributes to a discreet, natural look, making the repair less noticeable and restoring confidence in your nail appearance.
- Premium, high-quality tea leaves
- Fine, uniform fabric material
- Minimal porosity for smooth application
- Appropriate size for the nail crack
- Neutral or subtle color for discreet repair
Precise Cutting Technique
Getting the tea bag to fit perfectly over your nail crack requires careful cutting and trimming. Use small, sharp scissors to shape the tea bag into a precise patch, matching the size and shape of your split. This step demands a steady hand, reflecting your nail artistry skills, ensuring the patch covers the crack without excess. Keep in mind the principles of cosmetic chemistry—using minimal material helps maintain flexibility and adhesion. Trim the edges smoothly to avoid jagged edges that could snag or lift. Accurate cutting not only creates a seamless repair but also ensures the tea bag adheres well and stays durable. Taking your time at this stage makes a significant difference in achieving a professional-looking, long-lasting fix.
Applying a Base Coat or Nail Glue
When repairing a split nail, applying a base coat or nail glue is a crucial step to guarantee a strong, lasting fix. This not only reinforces nail health but also ensures your DIY beauty efforts are durable. Using the right product helps create a smooth surface for the tea-bag layer and prevents further splitting. Carefully choose a nail glue designed for repairs or a clear base coat that adds strength without damaging your nails.
- Select high-quality, nail-friendly adhesives
- Make certain the nail is clean and dry before application
- Apply a thin, even layer to avoid excess buildup
- Allow sufficient drying time for ideal adhesion
- Follow up with a protective top coat for added durability
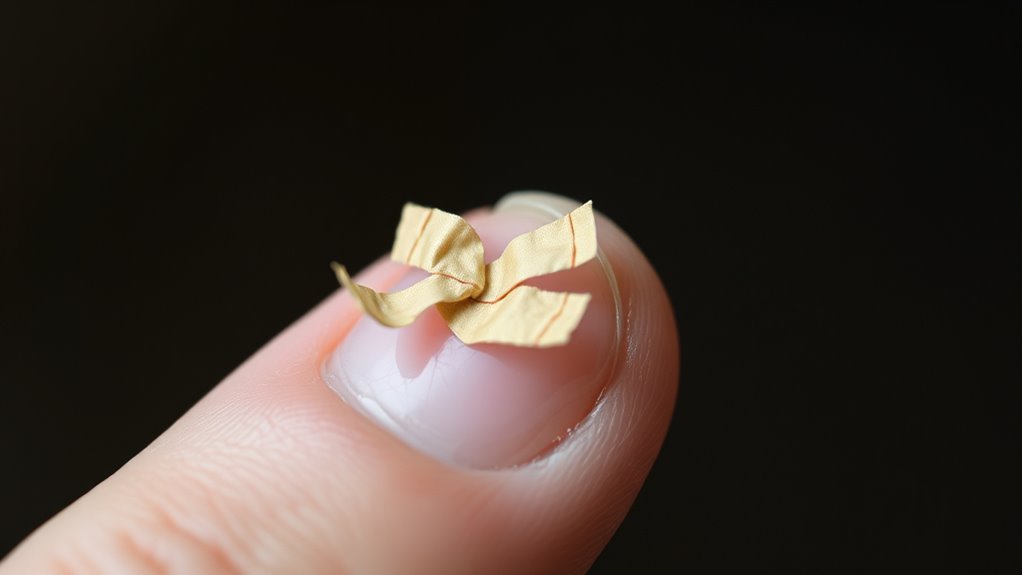
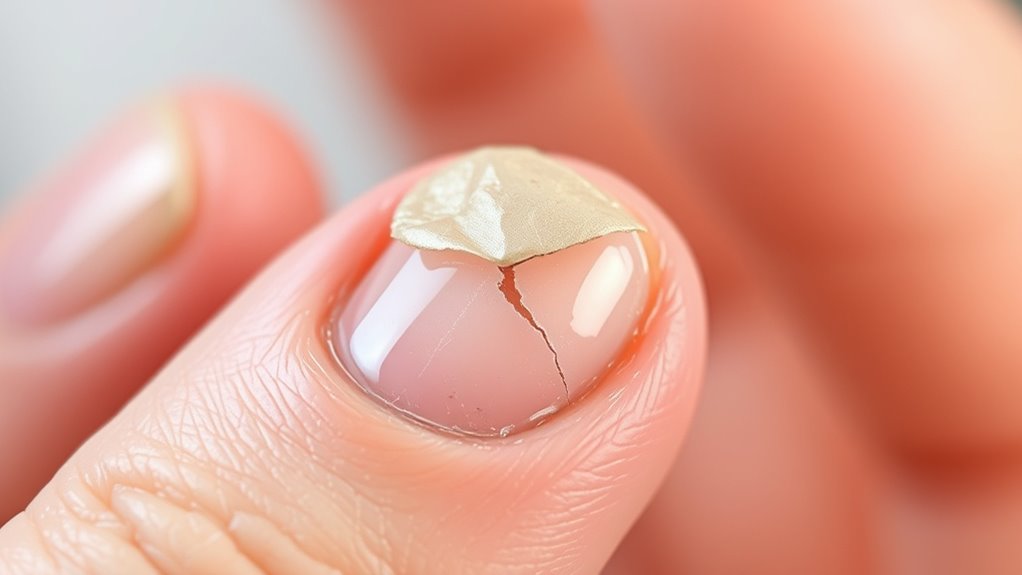
Placing the Tea Bag on the Damaged Nail
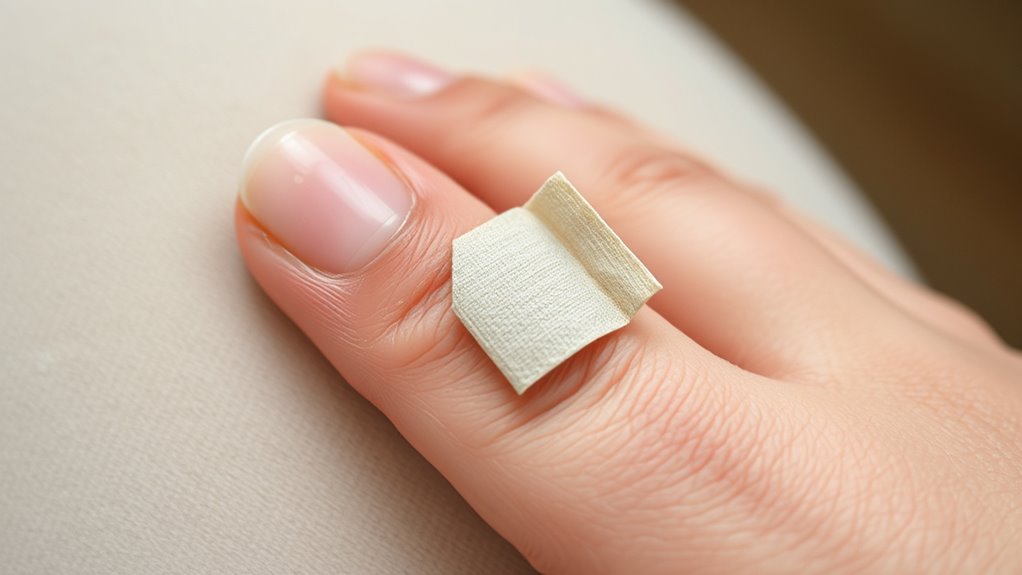
Once the nail glue or base coat has dried, carefully cut a small piece of a tea bag that slightly overlaps the split. Gently place the tea bag fragment directly over the damaged area, ensuring it covers the entire crack. This step helps reinforce nail strength and improves the cosmetic appearance by creating a natural-looking repair. Be precise with placement to avoid lifting or misalignment, which can affect nail health. Press the tea bag gently but firmly, smoothing out any wrinkles or bubbles. The small piece of tea bag acts as a fiberglass-like layer, providing extra support to prevent the split from worsening. Proper placement here is key to achieving a seamless, durable repair that restores both nail health and a polished look.
Sealing the Tea Bag With a Top Coat
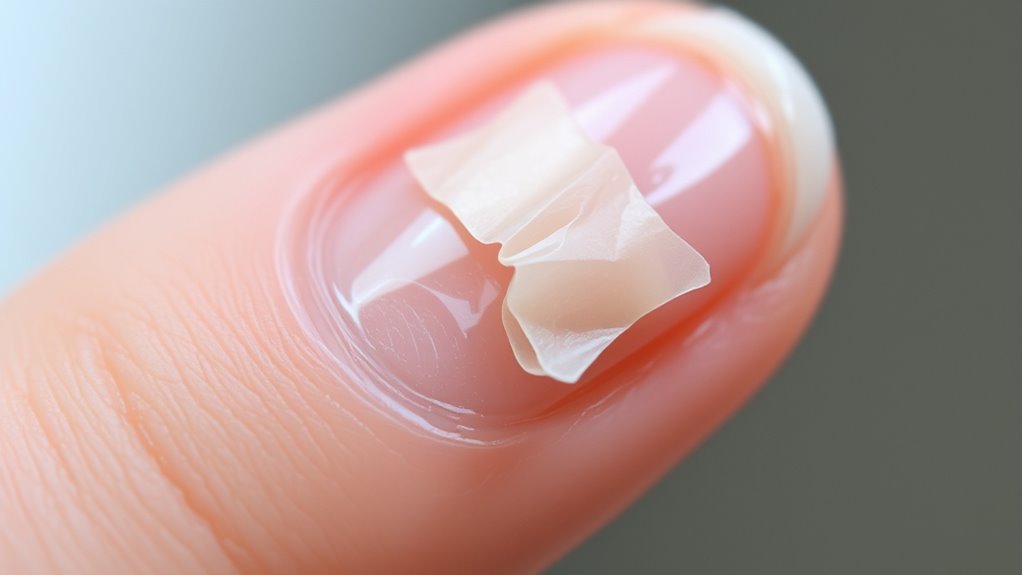
After placing the tea bag onto the cracked nail and pressing it into the adhesive, the next step is to seal the repair with a top coat. Applying a clear nail polish guarantees a smooth, durable finish that protects the tea bag and reinforces the nail’s structure. Be sure to cover the entire area, including the edges, for maximum adhesion and longevity. Using a high-quality top coat also adds a glossy finish, making the repair less noticeable. While sealing, avoid excessive application near the cuticle to maintain healthy cuticle health and prevent irritation. A well-applied top coat acts as a barrier against moisture and daily wear, helping your nail stay strong and looking polished.
- Use thin, even layers for a smooth finish
- Allow each layer to dry fully before applying the next
- Choose a formula that promotes nail strength
- Avoid overloading near the cuticle to prevent lifting
- Regularly reapply to maintain protection
Allowing the Repair to Set and Curing

Allowing the repair to set and cure properly is vital for a durable and long-lasting fix. During this time, avoid using your nails or exposing them to water, as moisture can weaken the bond and compromise nail health. Giving the repair adequate time ensures that the tea bag layer and top coat fully harden, providing structural support. This step is also essential for maintaining your beauty routines, as a properly cured nail reduces the risk of further splitting or damage. Keep your hands steady and resist the urge to check or touch the repaired nail until the curing process is complete. Patience here preserves the integrity of the repair, helping your nails look and feel healthier over time.
Finishing Touches and Nail Care Tips
To give your repaired nail a polished look, focus on applying finishing touches that enhance its appearance and durability. Proper nail care tips help maintain nail health and ensure your repair lasts. Use smooth, even nail polish techniques to conceal the repair and add shine. Consider applying a thin layer of top coat for extra protection. Keep your nails hydrated and avoid harsh chemicals to support nail health. Regularly moisturize cuticles and avoid picking at your nails. For a sophisticated finish, select complementary nail polish shades and neat application. Proper finishing touches not only improve aesthetics but also strengthen the repair. With consistent nail care, your nails remain healthy, attractive, and resilient against future damage.
- Use high-quality top coats for durability
- Practice precise nail polish techniques
- Keep nails moisturized and healthy
- Avoid aggressive filing or buffing
- Regularly trim and shape nails
Frequently Asked Questions
How Long Does the Tea-Bag Nail Repair Typically Last?
The durability expectations for a tea-bag nail repair usually last about a week or two, depending on how well you care for it. The repair longevity can vary based on nail activity and moisture exposure. To maximize your results, avoid heavy water contact and rough activities. With proper care, your tea-bag fix should hold comfortably during daily routines, but it’s best to reapply or touch up as needed for longer-lasting results.
Can I Use This Method on Toenails?
Imagine you’re giving yourself a pedicure and notice a split toenail. You might wonder if the tea-bag method works for toenails. Yes, it can, but you should prioritize pedicure safety and nail health. Use a clean tea bag and gentle adhesive. Keep the area dry and monitor for infection. While effective, always consult a professional if the damage worsens or persists to confirm your toenails stay healthy.
Is This Repair Suitable for Brittle or Weak Nails?
If your nails are brittle or weak, the tea-bag method might not be the best choice. Brittle nails lack the strength needed to hold the repair securely, increasing the risk of further splitting or damage. Instead, focus on strengthening your nails with nourishing oils or nail treatments. Once your nails gain more strength and resilience, you can consider using this method for a more durable repair.
How Often Should I Reapply the Tea-Bag Repair?
Like a painter touching up a masterpiece, you should reapply the tea-bag repair every 2-3 days to maintain nail health and guarantee proper adhesion. Keep an eye on your nails and watch for signs of wear or damage. Frequent reapplications help strengthen the nail and prevent further splitting. Use DIY tips wisely, and remember, patience and care are key to a seamless fix and healthy nails.
Are There Any Risks or Side Effects Associated With This Method?
You might wonder about risks with the tea-bag method. While generally safe, watch for allergic reactions to the glue or tea. There’s also a small infection risk if you don’t keep the area clean or if the nail isn’t properly dried. If you notice redness, swelling, or pain, stop using the method and see a healthcare professional. Always verify hygiene to minimize any side effects or complications.
Conclusion
Think of your nail as a tiny bridge, and the tea bag as a sturdy support. With patience and care, you’re building a resilient span that can withstand daily wear. Just like a bridge needs a solid foundation, your nail needs gentle reinforcement. With this simple repair, you’re restoring strength and confidence to your natural beauty—turning a fragile crack into a resilient pathway that keeps you moving forward, one nail at a time.